To generate proxies on Azure, an account must be established on Microsoft.com. You can also log in with your current Microsoft Account. Azure has a variety of regions including Germany, Singapore, Finland, Netherlands, United Kingdom and the United States.
1. Login to your Azure portal using the following link: Azure Portal
You will be prompted to sign-in to an existing account or select another account. Input your password to sign-in to the Azure Portal.
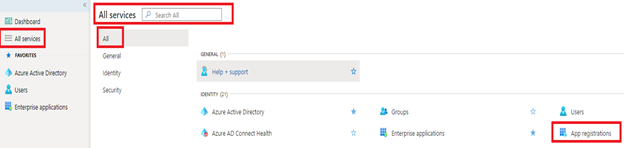
2. On your dashboard, Select All and Search App Registrations.
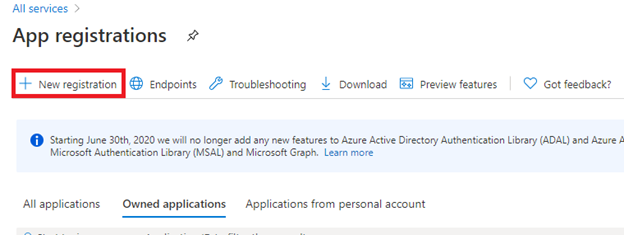
Select +New Registration
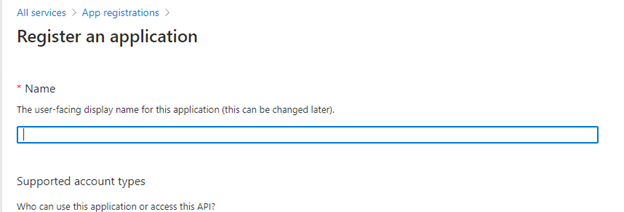
Under Name, input essentials-proxies and then click the Register button on the bottom of the page. All defaulted settings can remain the same.
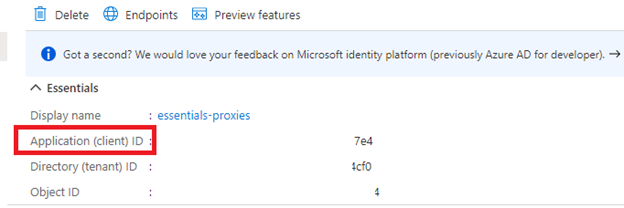
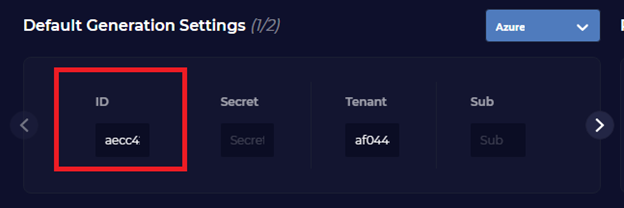
3. Copy the client ID found on the detail registrations page and put it in Essentials settings for Azure. To add the ID into Essentials, click on the Generator tab, Select Proxy Generator. Select Azure from the Drop-down and input the Client ID into the first ID field.
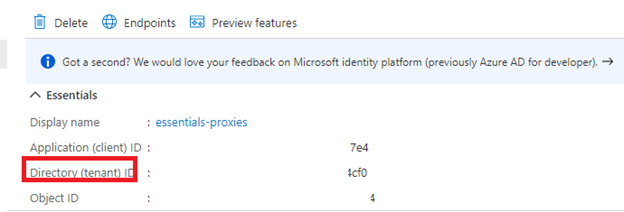
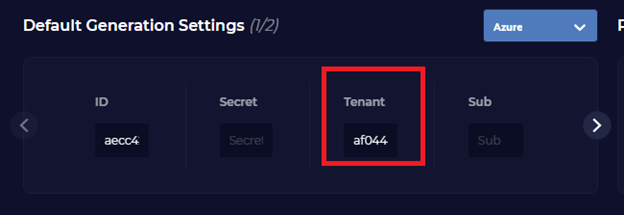
Copy the tenant ID found on the detail registrations page and put it in Essentials settings for Azure. To add the ID into Essentials, click on the Generator tab, Select Proxy Generator. Select Azure from the Drop-down and input the Tenant ID into the third ID field.
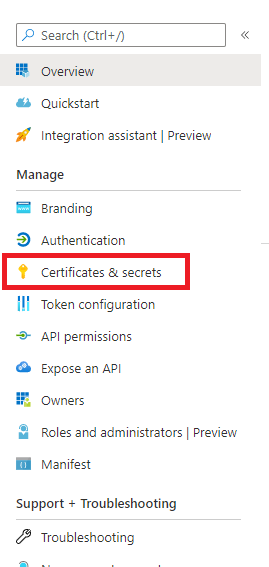
4. Go back to your Azure dashboard and select Certificates & Secrets from the sidebar.
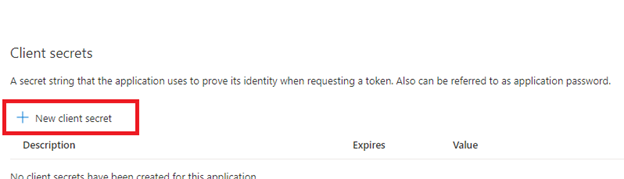
Select +New client secret.
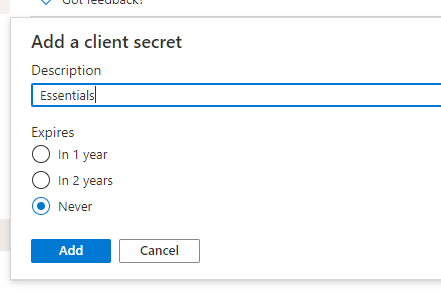
Add a Description for your client secret. You can set an expiration for your secret client ID to 1, 2 years or never. Click add when finished.
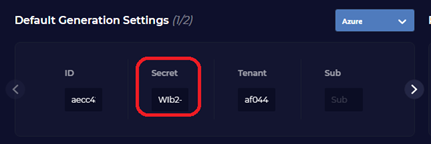
Copy the Secret Value ID and put it in Essentials settings for Azure. To add the Value ID into Essentials, click on the Generator tab, Select Proxy Generator. Select Azure from the Drop-down and input the Tenant ID into the second ID field.
5. Go the following link to manage your Azure subscription, Azure Subscription
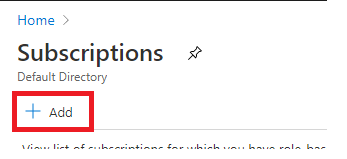
Once you are on the Azure Subscription page, select + Add
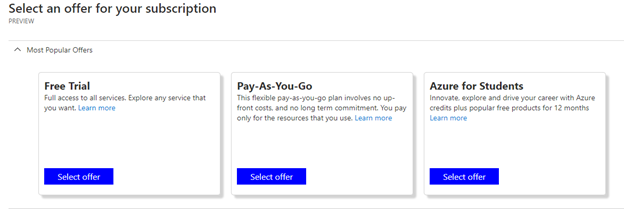
Select an applicable service you would like to Subscribe to.
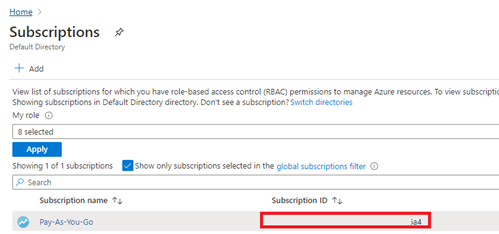
Once you have subscribed to the service, go back to your Subscriptions Page and copy the Subscription ID into Essentials. To add the ID into Essentials, click on the Generator tab, Select Proxy Generator. Select Azure from the Drop-down and input the Client ID into the fourth ID field.

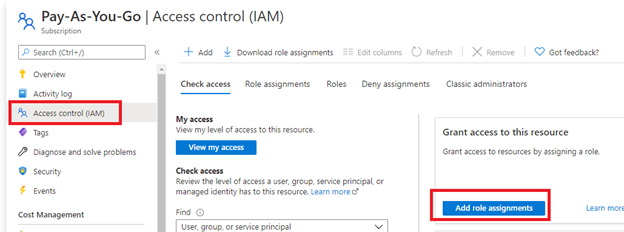
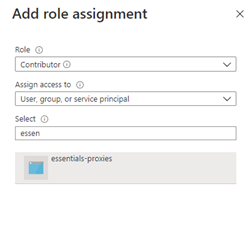
Go back to your Subscription page and select the Subscription Name. On the sidebar, select Access Control (IAM). Select Add and then Add role assignment
Set the role as Contributor. Search for essentials in the select box and click on essentials-proxies. Select Save
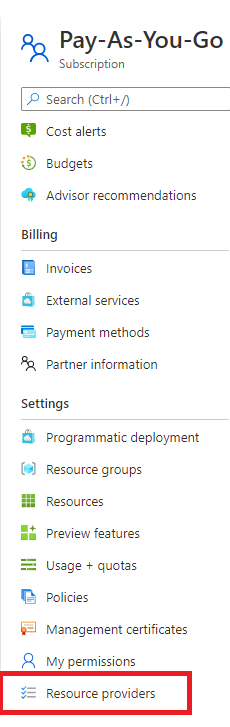
Click on Resource providers in the sidebar for your Subscription
Filter by Microsoft.Network. Click on Microsoft.Network & then click Register. Your status will change from NotRegistered to Registered.
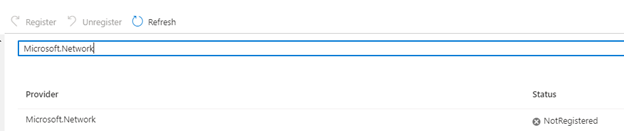
Filter by Microsoft.Compute. Click on Microsoft.Compute & then click Register. Your status will change from NotRegistered to Registered.

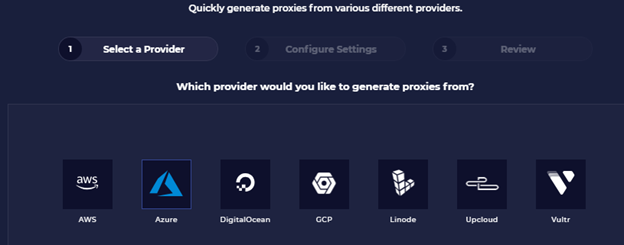
To generate proxies, Select Generate Proxies

Select Azure and click Continue.
The default settings from your Azure settings page will carry-over and will default to Asia location. To change your proxy location, uncheck ‘Use Default Settings’ and select the region from the drop-down.
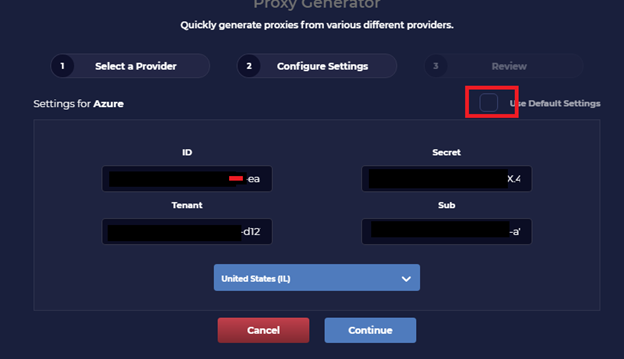
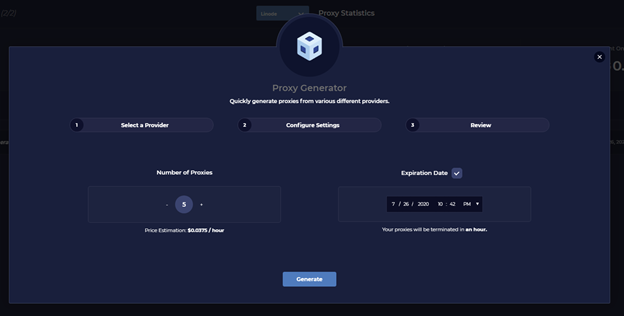
Select the number of proxies to generate. If you would like to set an expiration date for the proxies to terminate, select the option and set a timeframe. If you do not wish to use this option, unselect it.
Click Generate.
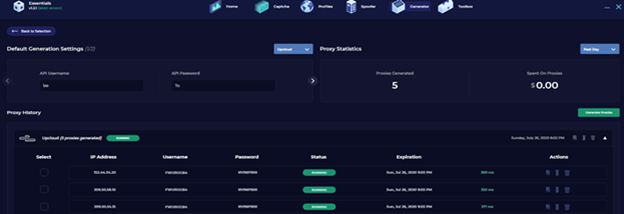
Essentials will now look like this. Please note it may take a few minutes for your proxies to generate.
Essentials will list all your proxies for each provider under your Proxy History in addition to having the ability to copy your proxies directly to your bots, test proxies and also delete all proxies.
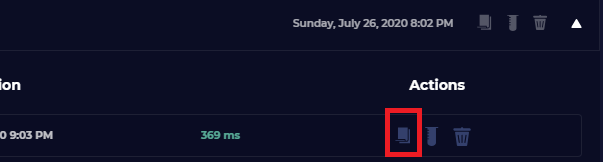
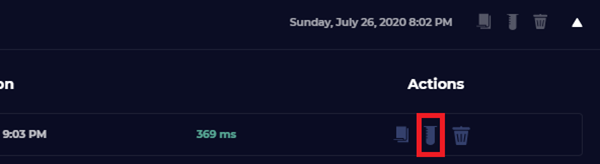
To copy your proxies, select the following icon.
To test your proxies, select the following icon.
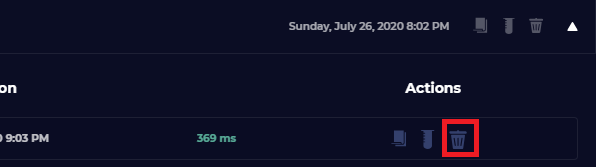
To delete proxies, select the following icon.
You will be asked to confirm whether or not you want your proxies deleted. Select the appropriate option.
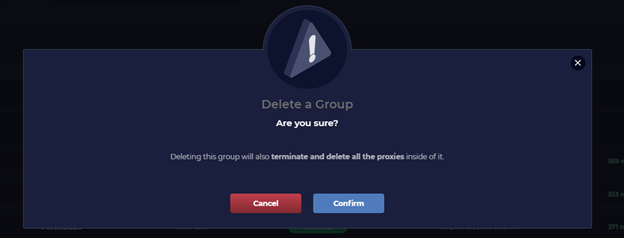
Note: Azure's generation and deletion process takes A LOT longer than other cloud providers! So please be patient and wait until Essentials lets you know it is done.
Comments
Article is closed for comments.